Winter Activity: Refurbish & Repaint Old Furniture
This winter has been particularly cold–Wisconsin has endured freezing temperatures for the last few weeks. Chances are cabin fever has set in and DIY projects have been on the agenda. If all of the walls in your house and office have a fresh coat of paint refurbishing furniture may be the next project. If you don’t have a piece of furniture in your house that needs a makeover head over to your local Good Will, Salvation Army, or theft store.
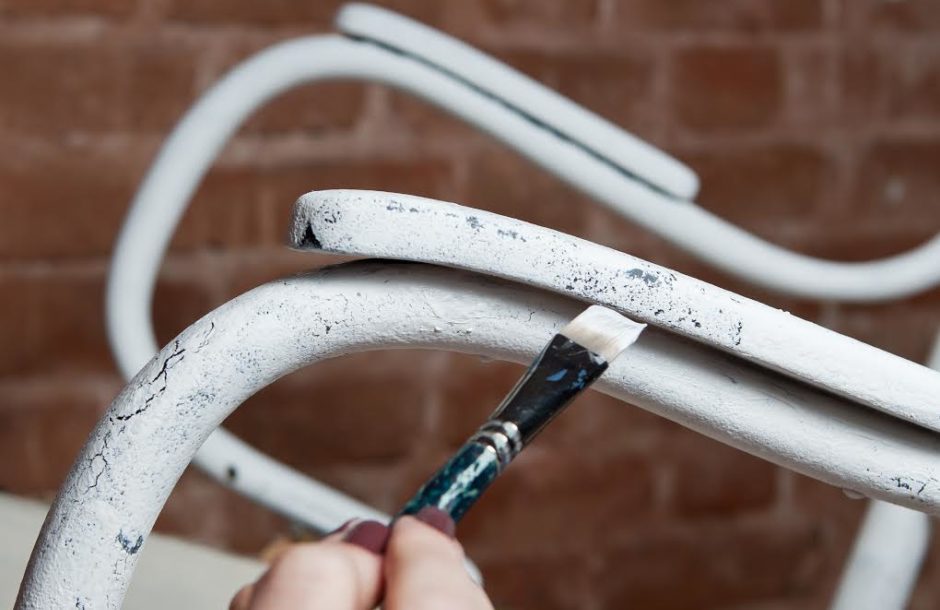
After finding your item look for inspiration in books, magazines, and online. Pinterest and designspiration.net are great sites for inspiration. Search for refurbished textures and paint colors. In the slideshow above black and white paint is commonly used.
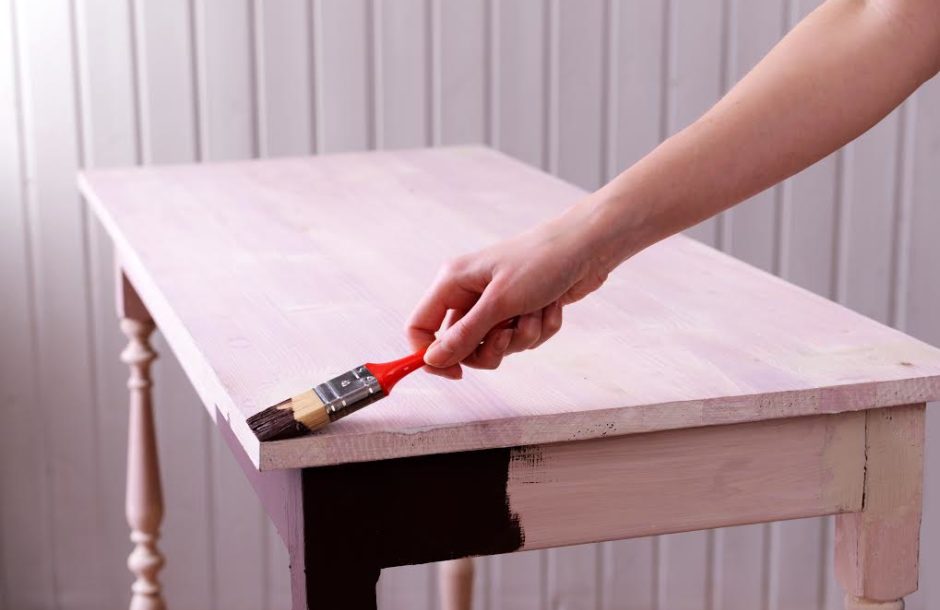
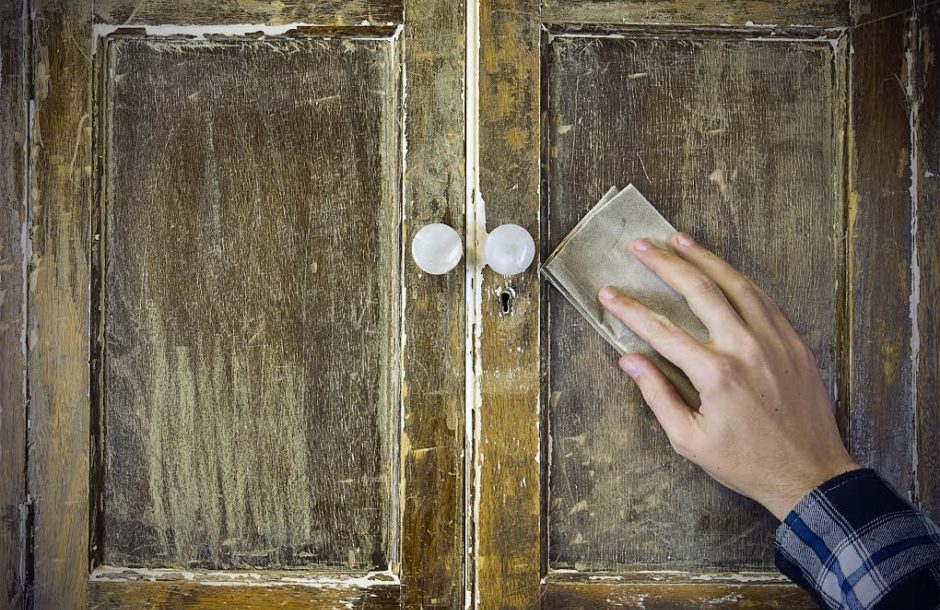
Once you have inspiration and you have picked out a color the next step is to prep the furniture. Make sure to wipe down the furniture piece and allow it to dry. After it’s dried use sandpaper; the heavier the paper the more stripping of the original paint or finish will be removed. If you’re happy with taking off the original paint stop here. Otherwise, apply a primer and then a topcoat. Allow the item to dry overnight. The next day uses the sandpaper again to remove some of the paint. A “natural” distressed look is important, focus on removing paint in areas that get a lot of wear; near handles, legs of a chair, chair seats, etc.
Examples of furniture:
- Armoire
- Table
- Cabinets
- Chairs
- End tables
Supplies:
- Sandpaper
- Primer
- Topcoat
- spray paint
- Towels
- Roller
- Paintbrushes